Converting JPG to PNG can be useful when you need a PNG upload, want to edit a screenshot-like image, or need a format that handles sharp edges better. But conversion cannot magically restore detail that was already lost in the JPG. The best workflow is to protect the current quality, avoid unnecessary resizing, and use PNG only when the use case calls for it.
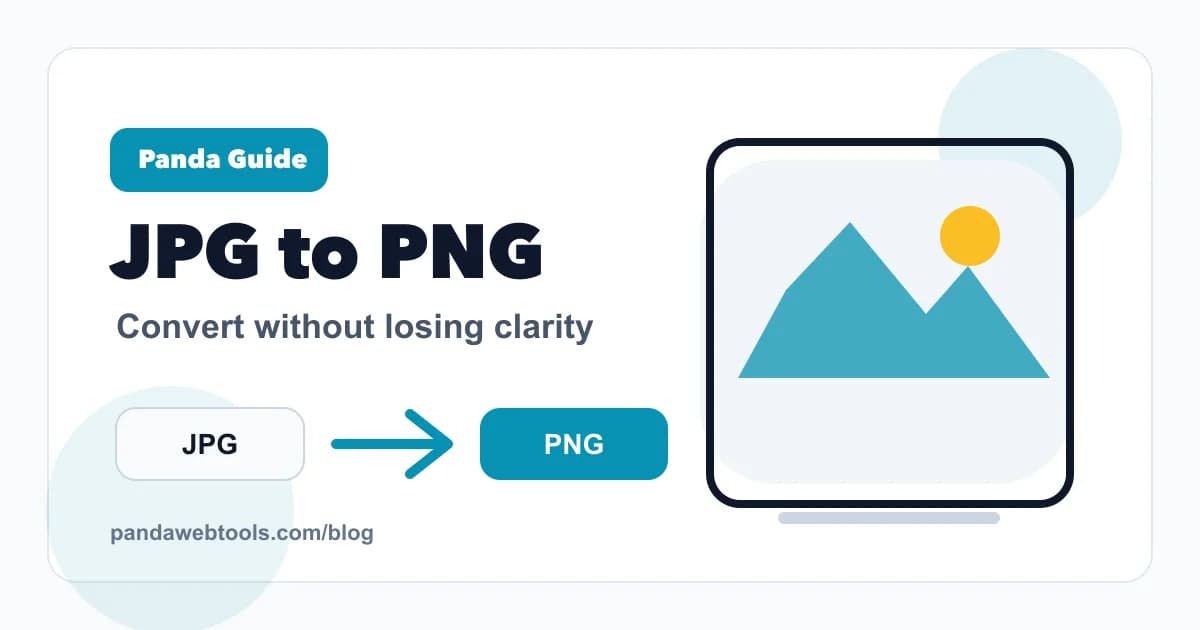
What happens when JPG becomes PNG
JPG is usually lossy, which means some visual data may already be compressed away. PNG is lossless, so it can preserve the current appearance of the JPG, but it cannot recover original details that no longer exist.
After conversion, the PNG may become larger than the JPG. That is normal because PNG stores image data differently and is not optimized for photographic compression in the same way.
When JPG to PNG makes sense
Convert JPG to PNG when a platform requires PNG, when you need to add transparency in an editor, or when the image contains text or hard edges that will be edited further.
For normal website photos, converting JPG to PNG is often not the best move because it can increase file size without improving visible quality. In those cases, WebP or a better-compressed JPG is usually smarter.
How to avoid quality loss
Use the highest-quality JPG source available. Avoid converting a file that has already been compressed multiple times by messaging apps, social platforms, or old exports.
Do not enlarge the image during conversion. Upscaling can make softness and compression artifacts more visible. Convert at the original size or resize downward if you are preparing a web upload.
Best publishing workflow
If the PNG is for editing, keep it as a working copy. If the final destination is a website, export a web-ready version afterward so the page is not slowed down by an oversized PNG.
Use descriptive filenames, write accurate alt text, and confirm the image dimensions match the layout. Format conversion works best when it is part of the full publishing process.
Step-by-step instructions
- 1Open the JPG to PNG Converter.
- 2Upload the highest-quality JPG source you have.
- 3Keep the original dimensions unless you intentionally need a smaller web version.
- 4Convert to PNG and preview text, edges, and important details.
- 5Download the PNG and create a compressed web copy if the file is large.
Benefits and use cases
- Preserve the current JPG appearance in a lossless PNG file.
- Prepare images for editing workflows that prefer PNG.
- Avoid accidentally creating oversized website images.
FAQ
Does converting JPG to PNG improve quality?
It preserves the current image in a lossless format, but it does not restore detail already lost through JPG compression.
Why is my PNG larger than my JPG?
PNG uses lossless compression and is not as efficient for photos. A converted PNG is often larger than the original JPG.
Can JPG to PNG add transparency?
Conversion alone will not automatically remove a background. You can convert to PNG, then edit the image in a tool that creates transparency.
Should I use PNG for website photos?
Usually no. JPG, WebP, or AVIF are usually better for website photos because they create smaller files.
What should I check after conversion?
Check text clarity, edge sharpness, file size, dimensions, and whether the final destination really needs PNG.
Related Panda Web Tools links
Ready to prepare your file?
Try JPG to PNG Converter on Panda Web Tools and prepare your next file in a few clicks.
Open JPG to PNG Converter